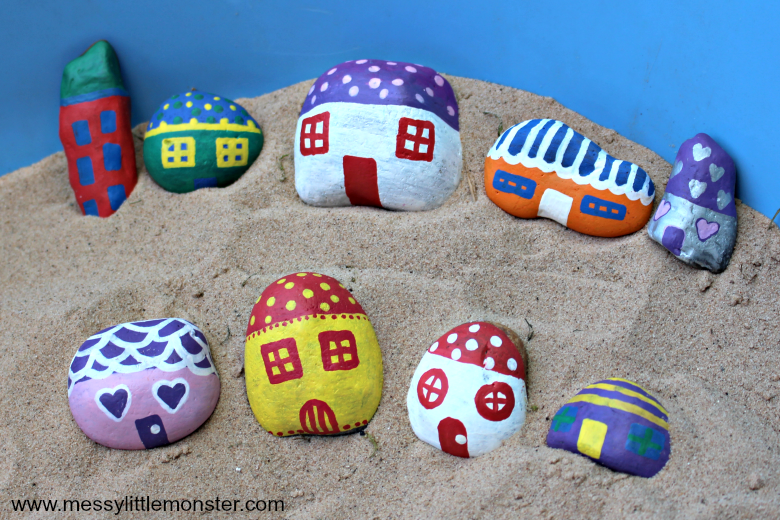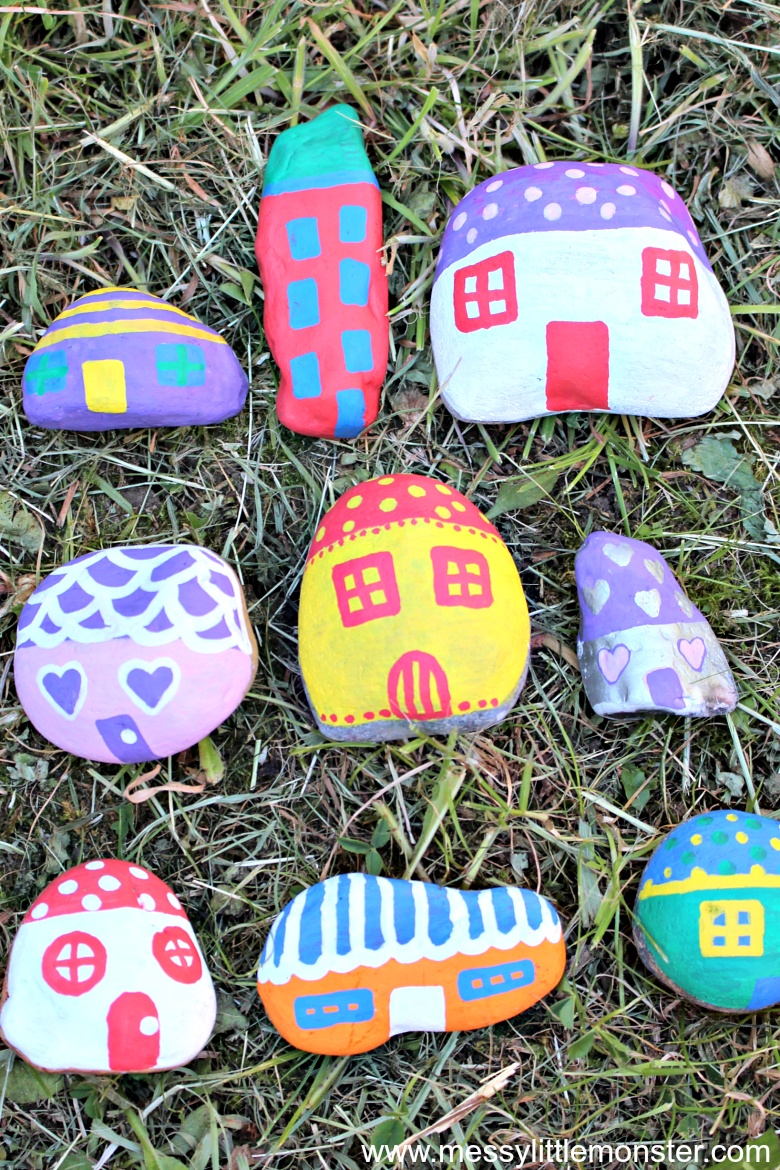
Rock painting and pebble painting has become such a big thing! We have been painting, hiding and finding painted rocks everywhere this summer, so I am very excited to share this easy painted rock craft with you.
If you have any spare rocks or pebbles left after making these painted rock fairy houses take a look at our funny face rocks (these mix and match stones are lots of fun) or our ‘Old MacDonald’ nursery rhyme stones, or alternatively check out our collection of rock painting ideas.
The fairy house rock painting idea that we are sharing today was made for our own garden rather than for hiding and Daisy (aged 3) has had lots of fun playing with them. If you know any toddlers or preschoolers that love fairies (or of course older children too,) you might want to take a look at our cardboard tube fairy houses, our plant pot fairy houses or our craft stick fairy doors.

We made our fairy house painted rocks using paint pens (more details on the best paint pens for rock painting below). Rock painting using paint pens means that even really young children can get involved and create painted rocks that they are proud of. It also means that there is far less mess than if you use paints. Another benefit of using paint pens for rock painting and pebble painting is that they dry really quickly so you are easily able to layer colours on top of each other. We made a set of rock fish using paint pens too!

We are a participant in the Amazon Service LLC Associates Program, an affiliate advertising program designed to provide a means for us to earn fees by linking to Amazon and affiliates sites.
Rock Painting Supplies
I’ve supplied links to Amazon for easy purchasing! Just click the links below to be taken to the product pages!
- Acrylic Paint Pens (I would recommend using acylic paint pens for painting on rocks. They are easy to use and last well. We used a set of standard thickness paint pens to make our rock fairy houses, but if you want to add more fine details you may need to purchase a set of fine acrylic pens too)
- Rocks or pebbles
- Sealer Spray

How to make painted rock fairy houses – easy rock painting ideas
STEP 1: Find your rocks, stones or pebbles
Finding the rocks, stones or pebbles that you want to use for this painted rock craft can be as much fun as the painting! Whether you go to the beach, to the woods or you end up having to go to the garden centre, have fun choosing the perfect rocks. If you can’t find any rocks suitable for painting you can get your rocks to paint from amazon. Think about the shapes and sizes that you want your fairy houses to be when picking your rocks.
STEP 2: Clean the rocks
Give the rocks that you have collected a wash with a little soapy water so that you have a smooth and clean surface to paint on.
STEP 3: Add colour to the rocks using acrylic paint pens
Now it’s time to add a little colour! Begin by colouring the bottom half of the rocks using one of your acrylic paint pens. If you use a lighter colour you may have to colour a second coat of your chosen colour, but this is easy to do as the acrylic paint pens dry really quickly. Once you have added colour to the bottom half of all the rocks choose a contrasting colour for the top half, this will create the roof of your rock fairy houses.
You could make all the rocks the same colour or use a selection of bright colours like we did.

STEP 4: Add details to your painted rock fairy house
Once the base colour has dried it’s time to have fun adding details to this fun painted rock craft. Add windows, doors, roof tiles or just have fun adding patterns.


You really can’t go wrong. Even toddlers and preschoolers can have fun mark making on the rocks to create their own fairy houses.

STEP 5: Seal your painted rocks
If you want your painted rocks craft to be weather proof you will need to seal your painted rocks. We have added a clear spray sealer that works well for sealing rocks to our rock painting supplies list above. You will need to spray your painted rock fairy houses outside in a well ventilated area. We sprayed a couple of coats to make sure they were totally weather proof.
The painted rocks will feel a little tacky for a while after they have been sealed, so it may be a good idea to leave them overnight before playing with them.

STEP 6: Create a rock fairy house village
It’s fun to make a whole collection of these painted rock fairy houses. You could either place all of the rock fairy houses in one place to create a fairy village or spread them out across the garden.

We even added house numbers to some of our rock fairy houses.

STEP 7: Engage in fairy themed small world play
If you are making this painted rock craft for preschoolers or toddlers they will have SO MUCH fun engaging in small world play once the fairy houses have been painted.