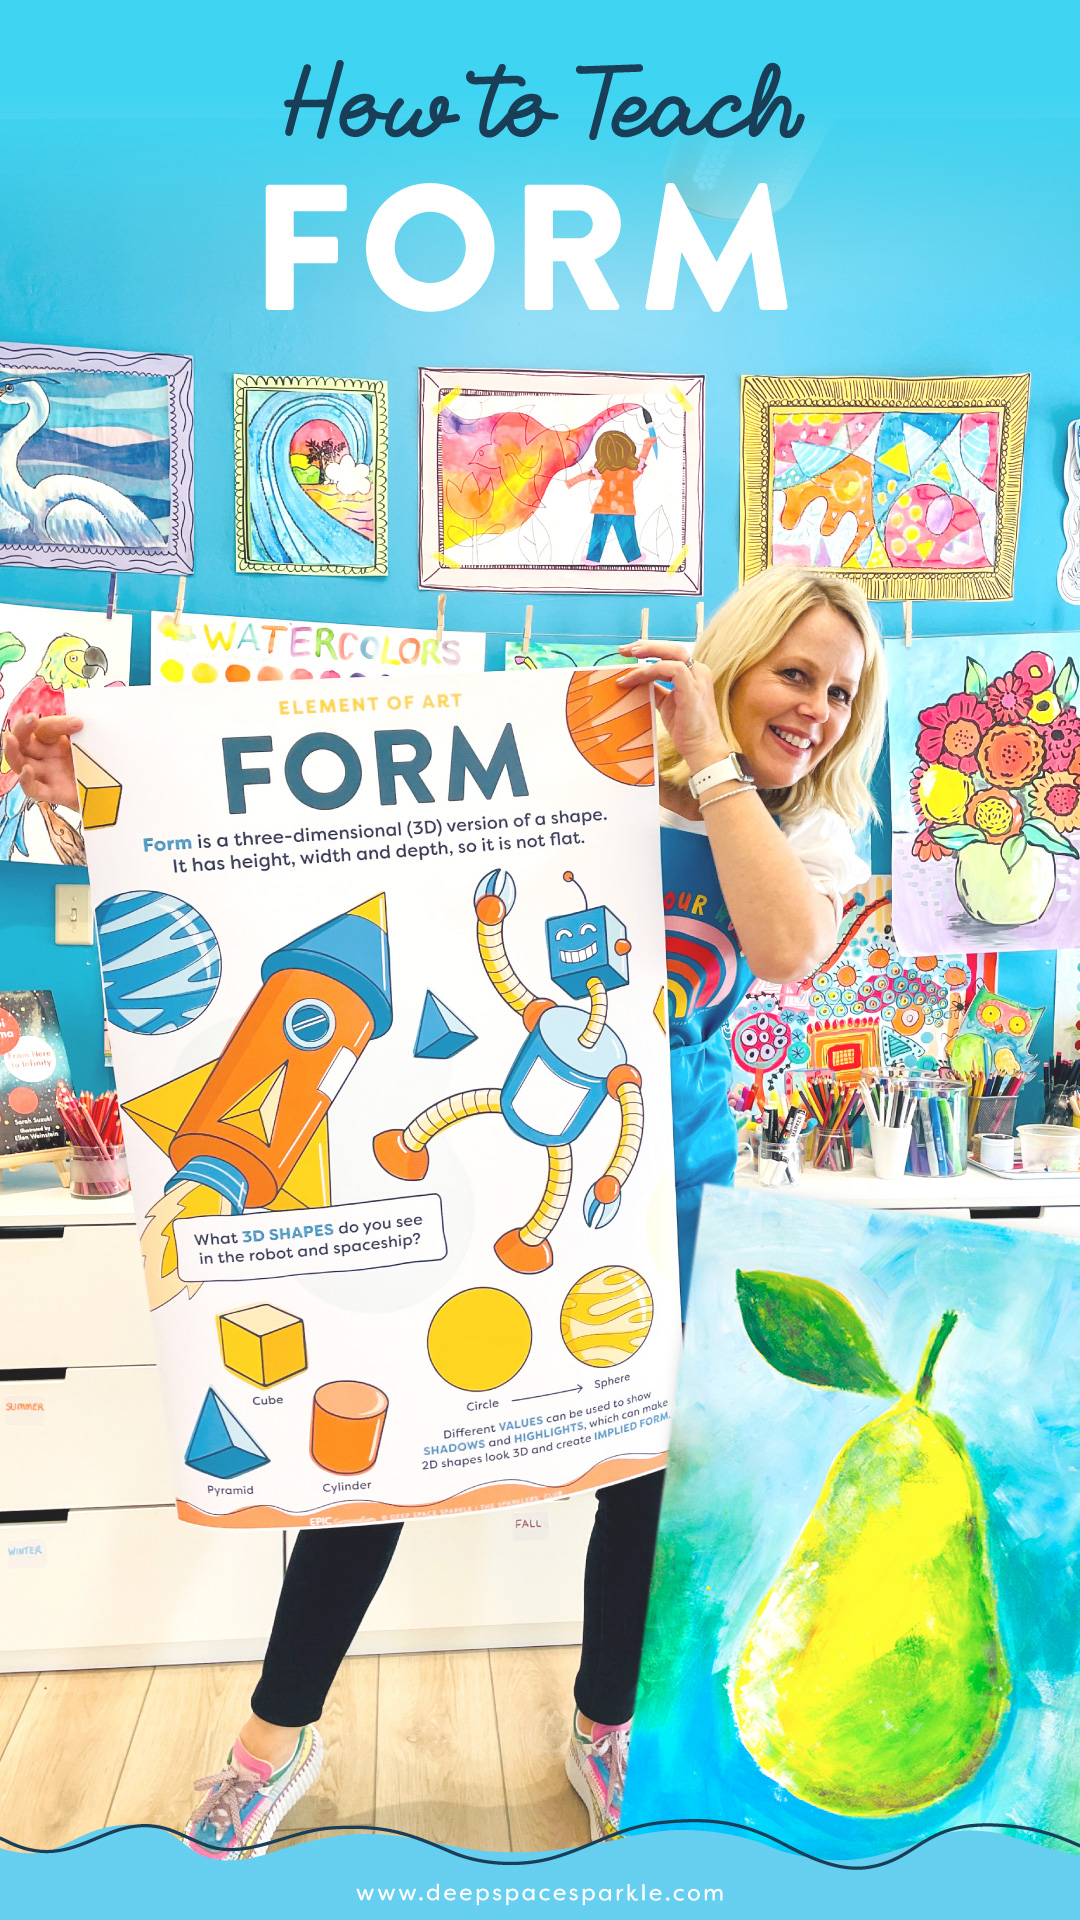
This is the seventh tutorial in our series CONNECTING WITH THE ELEMENTS – How to teach the Elements & Principles of Art. This week we’re featuring FORM.
I know what you’re thinking… what if I don’t have a kiln? Can I still teach form?
When I was a new teacher, I didn’t even know what a kiln was. Really. So introducing my students to form through a ceramic or clay unit was waaaay over my threshold of knowledge.
But you know what? I did teach form… but not in the typical way.
I taught form through drawing. Showing students how to imply form by using shading and highlights.
It felt as though teaching form was my nemesis. I felt badly for not introducing my students to the wonderful world of paper mâché and pinch pots. Truth was, I really didn’t feel skilled in these areas.
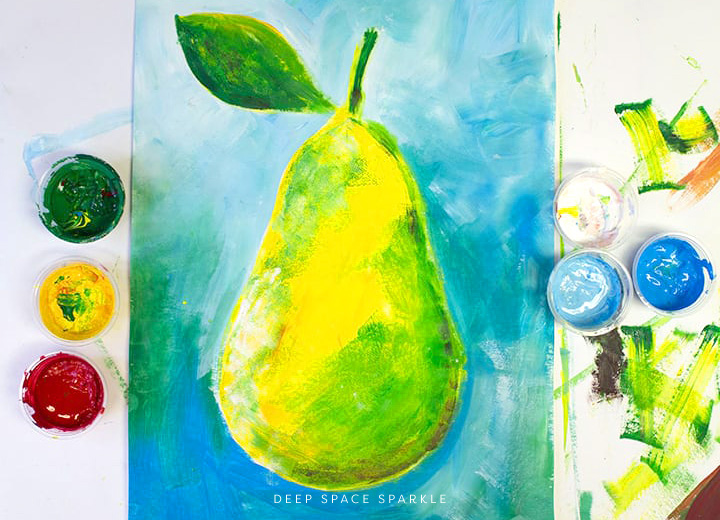
But then one kind art teacher told me I was teaching form… by showing the illusion of form. And that my friends, is what I’m going to show you today. How to draw and paint a very easy (and stunningly beautiful) pear. This is so simple, even your sweet kinders can do it, I promise.
First off through, I want you to download our back to School Guide, which is full of resources to help kickstart your art program

What You’ll Need:
– 12″ x 18″ white sulphite paper
– Liquid tempera paint: you choose the colors but I selected two color variations (light blue background with yellow/green pear + green background with red/orange pear)
– Wide flat brush
– Light colored crayon
– Small salsa cup container, pint size food container or a small paper plate (optional but helpful for 6-7 year olds)

The first step is optional but really helpful for little kids (ages 5-7) for drawing the pear large enough.
I keep a collection of round containers in the rat room for this purpose. Starting a project with shapes is super helpful and a great way to keep a large group of kids at the same pace.
Give each a sheet of white drawing paper to each child plus access to a light colored crayon.
Place 2-3 small circles templates on the table and 2-3 larger ones (I used a small paper plate and a larger salsa container to achieve the size you see in the example above).
Children place the small plate near the bottom of the paper and trace with the crayon around the bottom half of the plate.
You don’t want to encourage tracing all around the plate (I did this before so trust me here) or else the pear will start to resemble a snowman to 5 year olds and that’s what you’ll get no matter how much pear reinforcement they get.
Place the salsa container above the bottom circle. Make sure you can fit 2-3 fingers between the two circles.
Now that the curves are drawn, children can connect the two curves to form a pear.
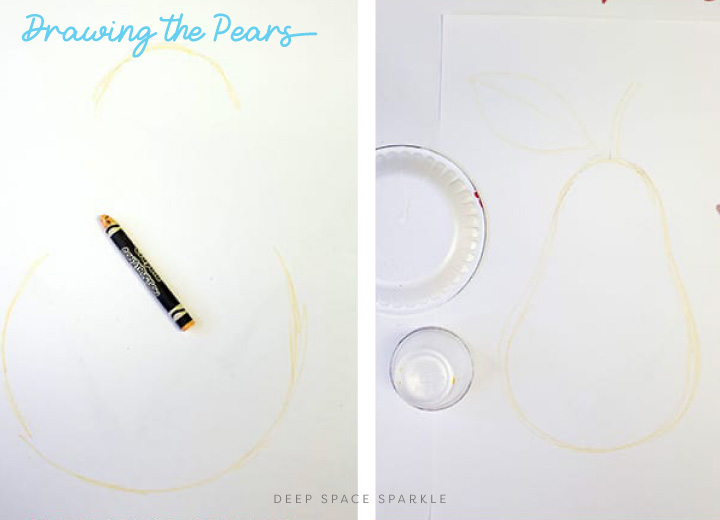
It is VERY helpful to display a few plastic or real pears on each table so children can draw what they see. The plates and cups are just there to serve as a sizing guideline.
Draw the stem and large leaf. If your real sample doesn’t have a leaf attached, show children a few possibilities on the whiteboard.
I like to paint the background first. If you decide to do this approach, count on ending the first 40-minute session after the background is painted.
Give each table group access to at least 3 colors: blue, light blue and white OR blue, green and white.
The goal is for children to use a combination of the colors to paint the background. In my red background example, I even included bronze liquid tempera paint. To add a nice festive touch.
I prefer to use a flat brush for the background. The tip or edge can be used to cut into the pear lines.
For older children, you can encourage darker corners or bottoms and lighter paint colors near the top. This is a more sophisticated approach.
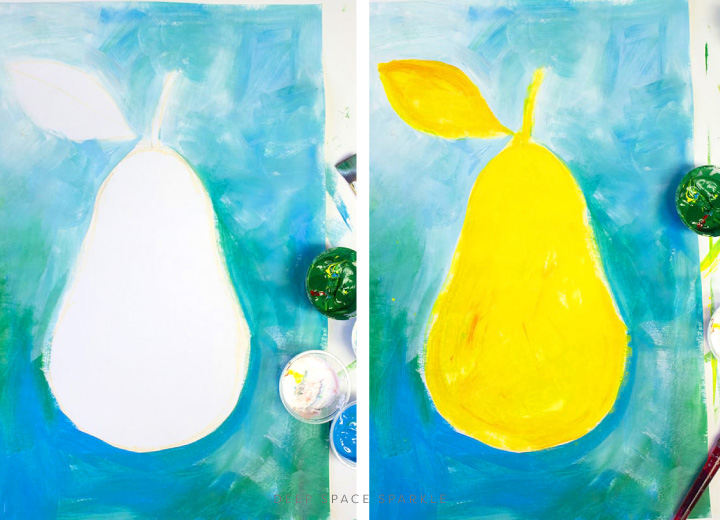
To paint the pear, resist the urge to tap into your fine-artist self and paint dark to light. With tempera paints, it’s sometimes best to paint the lightest color first, then add the darker color.
Paint the pear yellow (or whatever color you choose) and move into the next color.
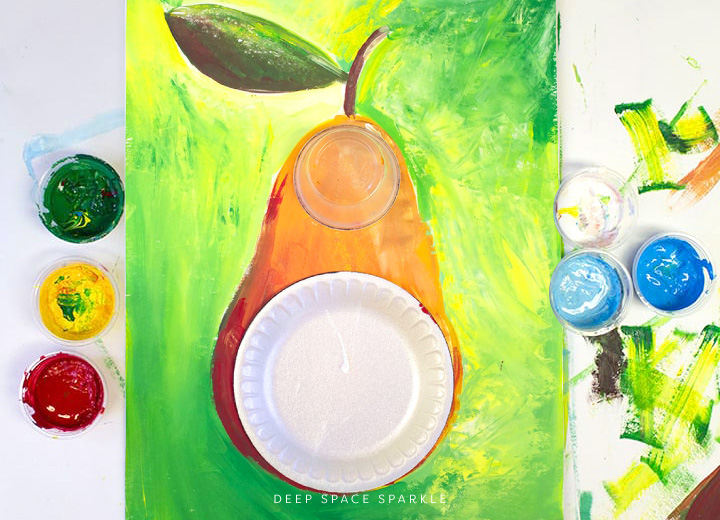
The green is brushed on lightly in the areas meant for shadows.
To add dark shadows, instead of using black, select a complementary color. To add shadows to the green paint, use red to create a neutral shadow color.
By dabbing the wet paint with a paper towel, the painting develops a “canvas” or textured appearance. You can do the dabbing in small areas or all over. I do like the effect so I would encourage older students to give it a try.
What is Form and why is it important?
Form is the element of art referring to three-dimensional shapes. Teaching children about form while using their prior knowledge of TEXTURE is a nice flow of concepts.
It is important to note that you can teach form with actual 3D materials by creating the illusion of form through value, adding highlights, shadows, etc, with 2D projects. For those of you who do not have access to a kiln for clay projects, you can substitute air dry clay as an alternative.
To learn previous tutorials on the elements of art, click the links below:
Line & Pattern
Shape
Color
Contrast & Emphasis
Value
Texture